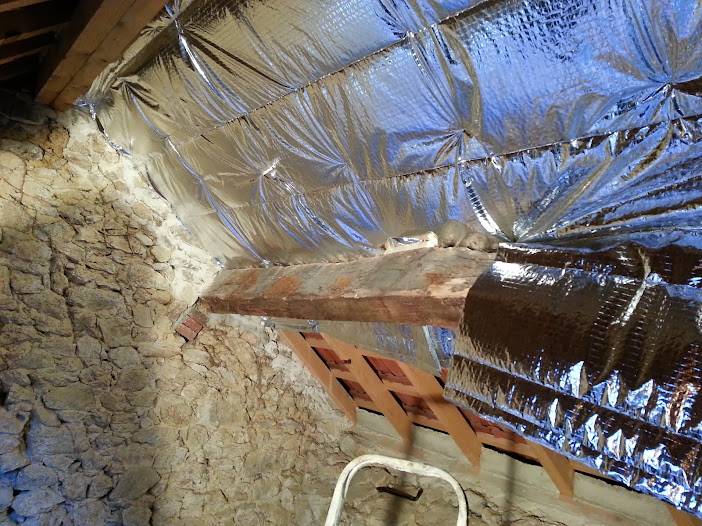
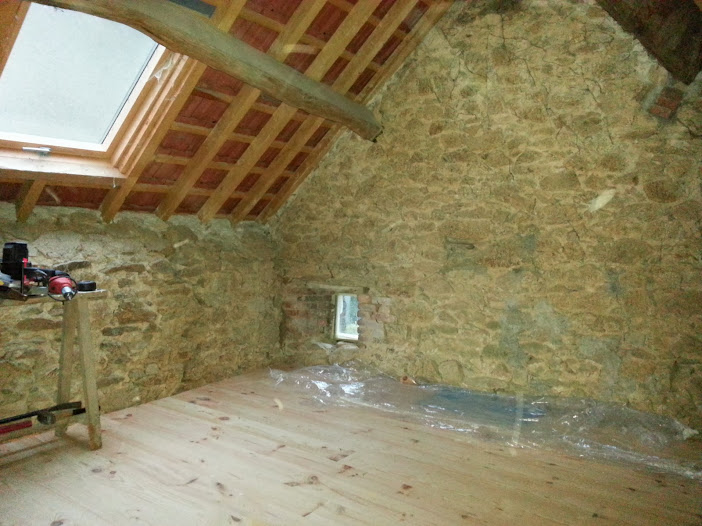
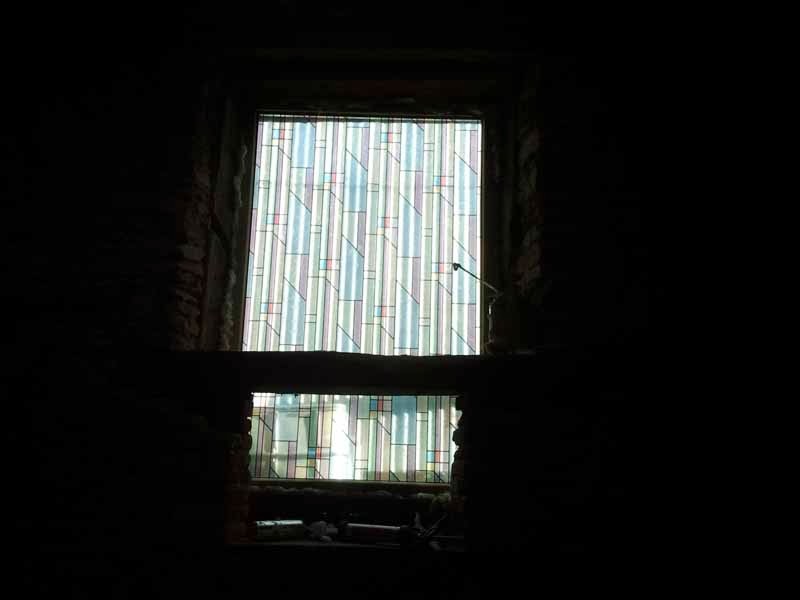
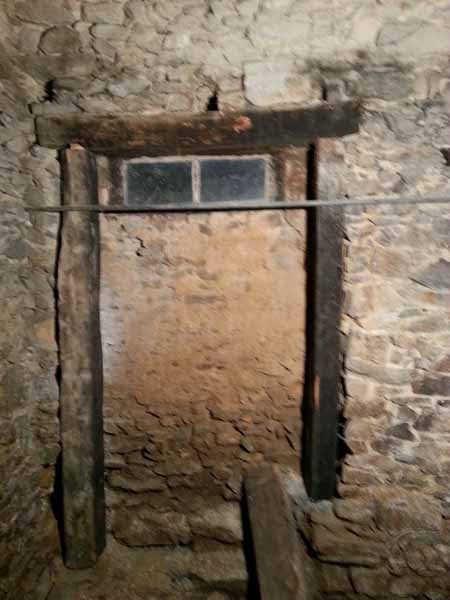
We needed to make some openings for more windows and a door to get to the patio without having to walk all round the building. There was a small window next to the patio so we just had to make it longer in order to fit a door. I chopped out the stone work with a large grinder fitted with a diamond disc, it goes through the granite very quickly but creates a lot of nasty dust. Later on we will fit a large double glazed window to be used as a door for the patio as it is too low for a standard door.
At the front of the gite the kitchen window openings need some attention. The left hand opening is currently a door so is to be filled in and a window fitted at the top. To the right is a window that is not properly supported and the brickwork is collapsing. First job is to remove the brick pillar and rebuild with bricks salvaged from the dismantled bread oven.
Removing the Iron grill from the window opening with a grinder :

Some handsome chap ;)

The dodgy column:

The acro props we have are far too long to support the wall whilst we remove the bricks so we had to make an improvised support from a step ladder and some blocks. Wouldnt normally reccomed this as the ladders not very strong but it is only supporting a small amount of stonework so is OK:


The rebuilt column finished in the dark :(

And a visit from the building inspector AKA womble:
Next we built a wall from breeze blocks inside the doorway:
This was then faced with reclaimed bricks for aesthetic appeal. Later a window will be added in the gap above.
The door way between the kitchen and living room was never properly supported with a decent lintel and wasn't high enough anyway so I made it higher and used new lintels . Akro props were used with a beam to support the stonework. Was crapping my pants a tad as I removed a lot more stones to get the lintels in as there was potential for the wall to come down = instant death and no more gite!
The new stone work built up around the new lintels:
Once the mortar is set you can then fill in the hole left by the temporary supports:
Later this wall will be pointed.
We decided to enlarge the below opening to create a large window in the living room as it has a nice view of the rear garden.
First job was to use some vertical beams to support the joist as it was resting on about 1 inch of stone either side! (becoming a familiar story)
One for the other side:
Then I cut through the stone work to create the opening for the window frame, unfortunately a large section of the stonework collapsed at the side whilst I was doing this as the stonework had previously been infilled poorly. So we had to improvised and used another oak beam on the outside to create the wall edge for the window frame:
Then we filled the gap between the beams with broken salvaged bricks, this will be rendered over later.