Monday, 10 November 2014

Wood burner install

Now winter is approaching it's time to get the wood burner installed in the gite.

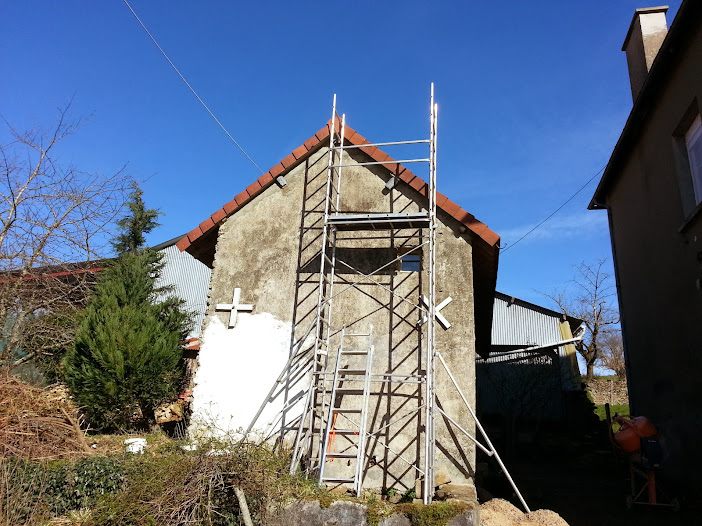
First the tiles are removed:


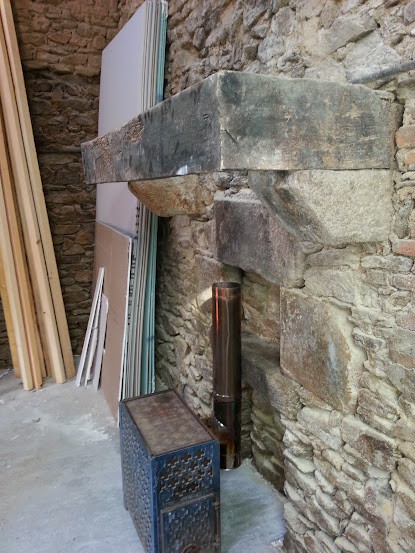
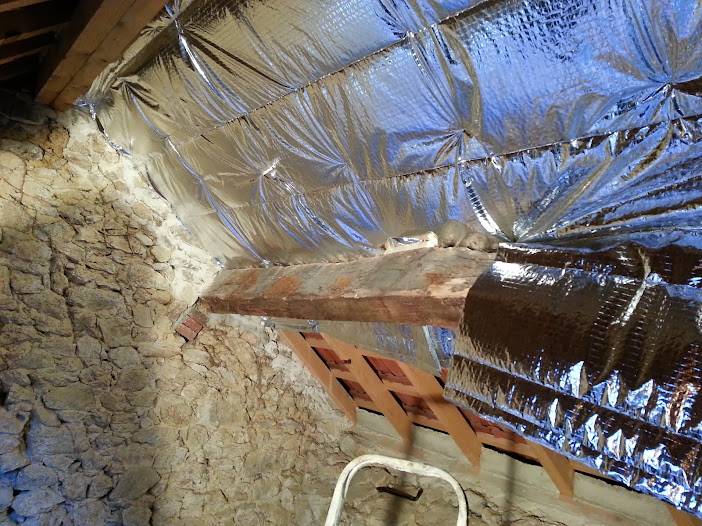
Single wall pipe was installed out of the wood burner to allow more heat into the room and for aesthetic reasons. An angled pipe was used to allow the flu to exit between the rafters. The tile battens were cut to make way for the twin wall pipe


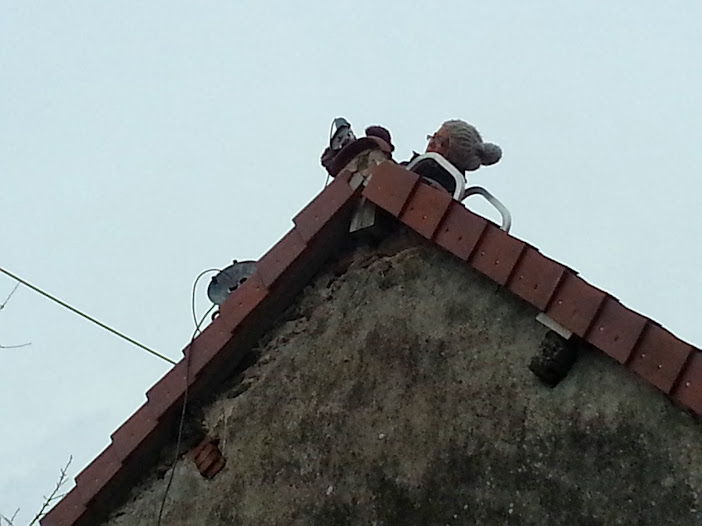
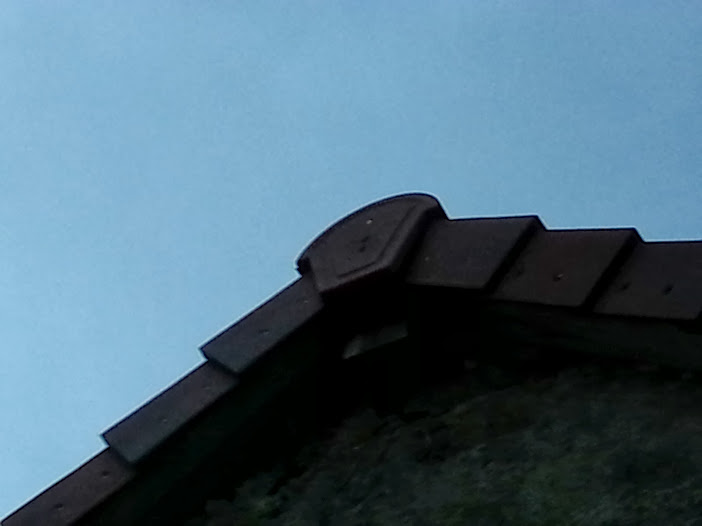
A lead flashing was fitted under the remaining tiles and the twin wall flue was fitted through the roof

From the outside a collar is fitted over the flashing and then siliconed around to prevent water ingress

The final tube is fitted and clamped on with a hat on top to protect from rain.


Off road motorcycle holidays

Work was postponed on the gite for the spring and summer as we decided to offer off road motorcycle holiday packages providing the bikes, the clothing and helmets and all the body armour.

Here's a few pics of the bikes and some holiday group shots:


A group from Guernsey:

Australia:

And from UK:


Sunday, 2 March 2014

Further work on the gite

Another concrete floor over the dirt and stone floor in the room that will be the kitchen and the bathroom:


The beam above the fireplace was protuding too much into the room so we removed it from the wall:


Then it was shortened with a chainsaw so it sits flush with the granite stones it's resting on...


A brick hearth was then made for the antique wood burner to sit. We used the reclaimed bricks from the dismantled bread oven.


Fixing the roof leak

Before we could finish boarding the bedroom we needed to fix the roof leak as the water was getting in via the ridge beam and dripping into the bedroom.

The roof was missing the ridge end caps so we needed to fit these to help keep the rain off the ridge beam. the ridge tile had to be cut down with an angle grinder as it was protuding over where the end cap fits:


New end cap fitted to protect ridge beam:


Unfortunately the water was still getting in after fitting the cap and sealing round it with mastic so more work was needed. A good friend lent us some scaffolding so we could take a closer look.

The render was broken around the ridge beam so we re-rendered the gable wall to keep the weather out:


Whilst the scaffolding was up we took the opportunity to paint the wall:


2 coats later....

If you check the photo above you can see we also covered all the main beams with lead sheeting, this further protects them from the rain. So far no more leaks so fingers crossed!


More work on the bedroom

The bedroom ceiling was insulated with 23 layer silver foil insulation which should provide very good heat retention:


Job done:


The ceiling was then battened out and boarded:


Next was the studwork for the end wall...


Then the studwall was insulated with 200mm fibre glass insulation, should keep the cold out!


Flooring in Gite

New concrete floor as the original floor was just earth and stones:


Next was to create a floor for the bedroom as we have removed the original beams which were too low for a 2 storey building.

Joists going in, they were hung from joists bolted into the granite stones in the wall. 


These were then stained underneath as they will be visible in the kitchen.

Finished job viewed from the bedroom:


Next job was to fit a new pine floor to the joists in the bedroom:


Plastic sheeting was laid over the floor at the back as the roof was leaking from the ridge beam into the bedroom!


Tuesday, 28 January 2014

New photos

we have some new updated accommodation photos of the main house, you can view them here:

http://www.ridelimousin.com/accom_gallery.html