

Ridelimousin is a motorcycle friendly bikers B&B. We are renovating a large country house to use for motorcycle touring holidays in France.
Friday 28 December 2012
New photos of Ridelimousin
Ridelimousin has some new accommodation pictures taken recently, you can view them on our Booking.com home page: Booking.com - Ridelimousin
Christmas Eve Greenlaning
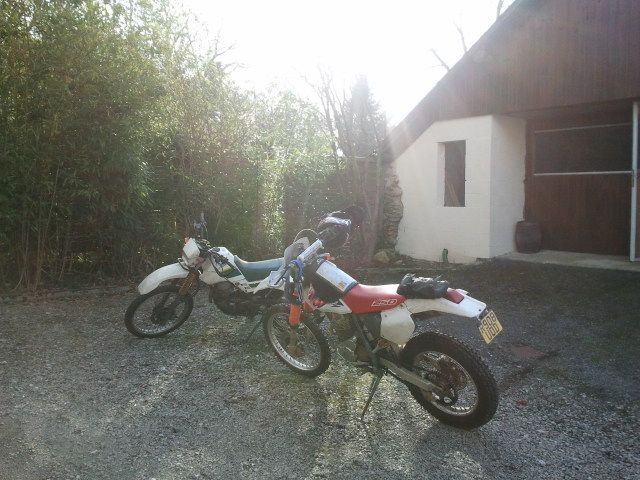
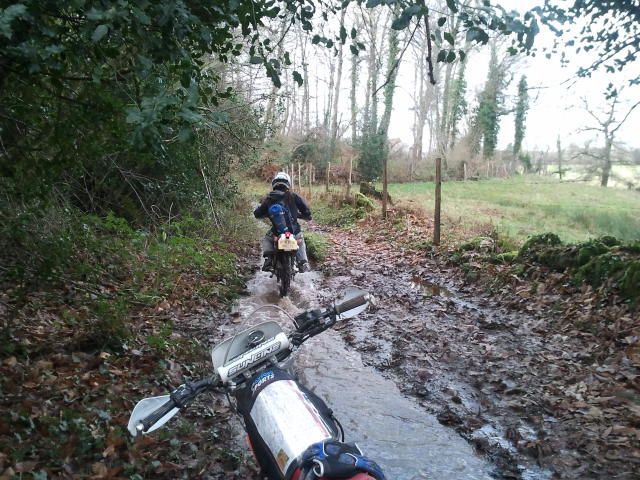
The weather was looking good for christmas Eve, (around 15 degrees) so we decided to go green laning.
Warming the bikes up outside the workshop at Ridelimousin before setting off:
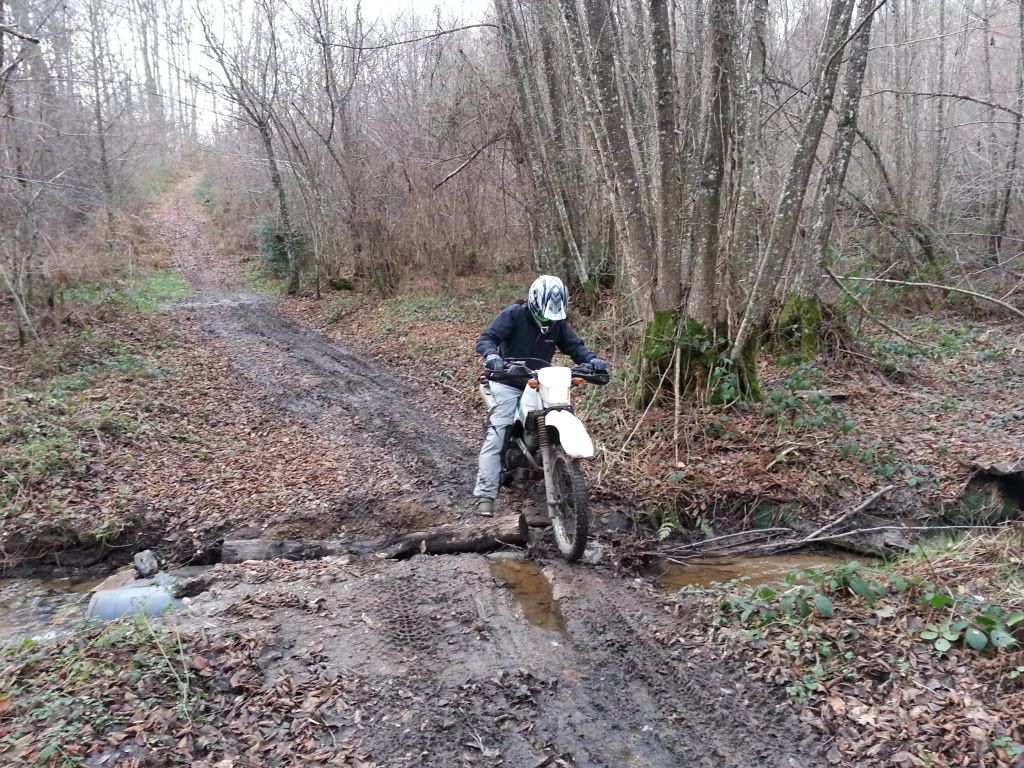
A bit slippery here due to a few days of rain..
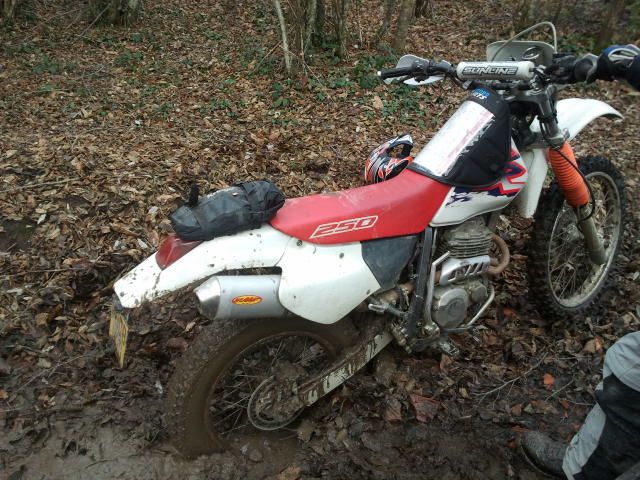
I got a bit stuck here, in the end we had to lay the bike on its side and drag it out of the gloop!
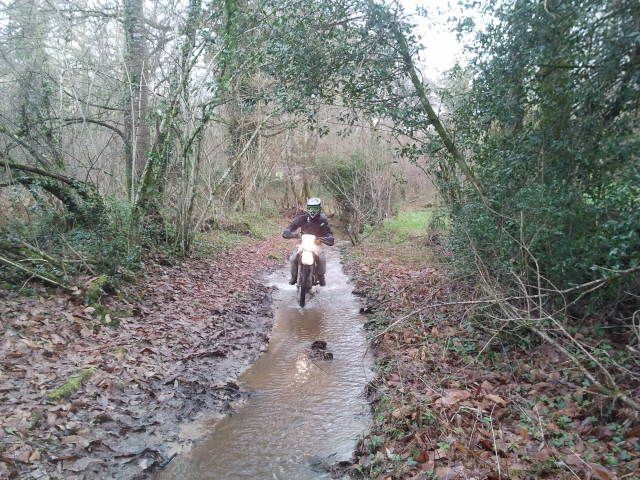
Riding along a stream:
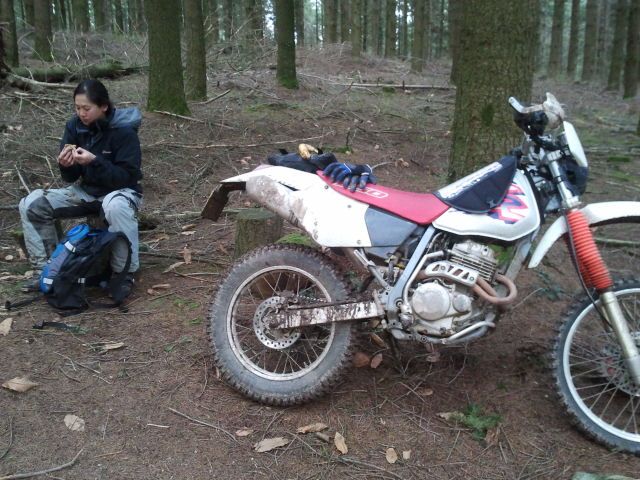
Stopping in the pine forest for a bite to eat..
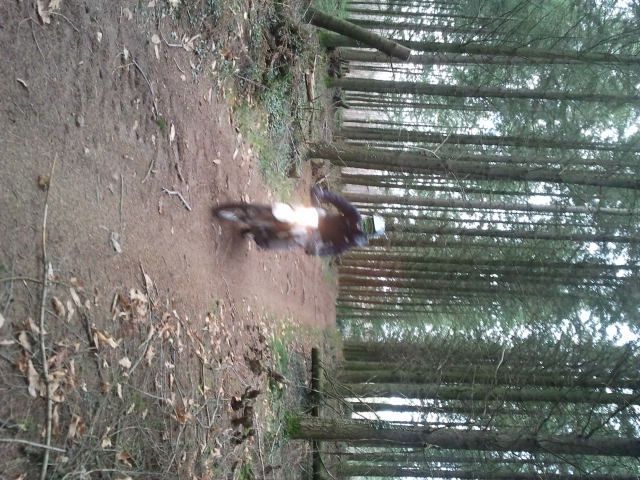
Riding in the woods:
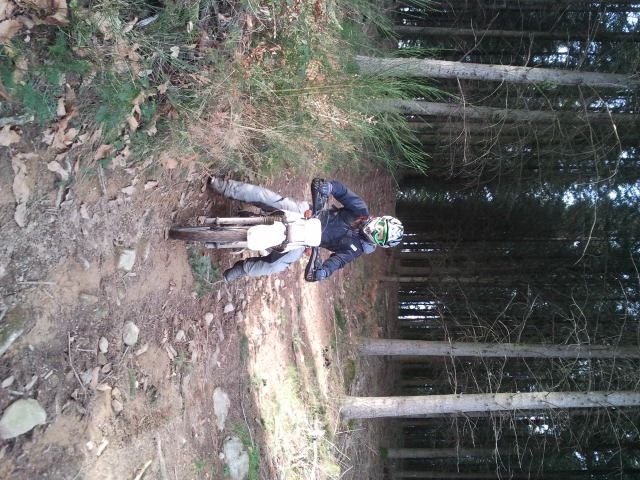
A steepish descent (looks a lot steeper when you're going down it..)
A good days riding was had. I will be uploading some more pics when I get a chance here: Ridelimousin Greenlaning Gallery
Wednesday 19 December 2012
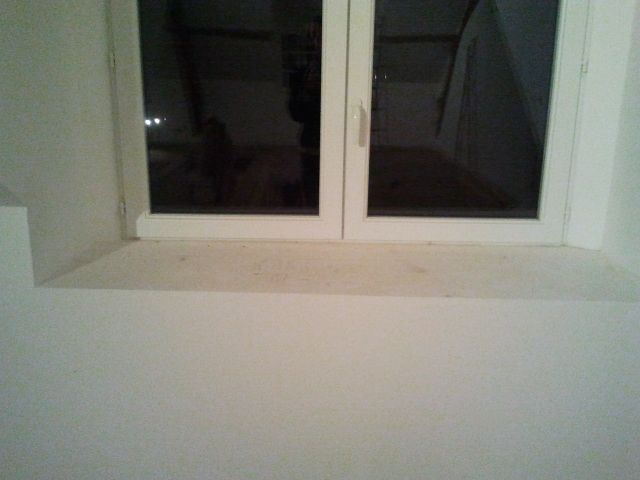
New window ledges for the loft
The loft windows have been left with plasterboard ledges but need a stronger and more durable surface. The unfinished ledges:


We bought some sheets of 5mm plywood and cut to size:

Then we stained and varnished the plywood, and glued it onto the plaster board. It was then fitted with a corner angle trim to finish the front edges.

 Looks good and inexpensive to do.
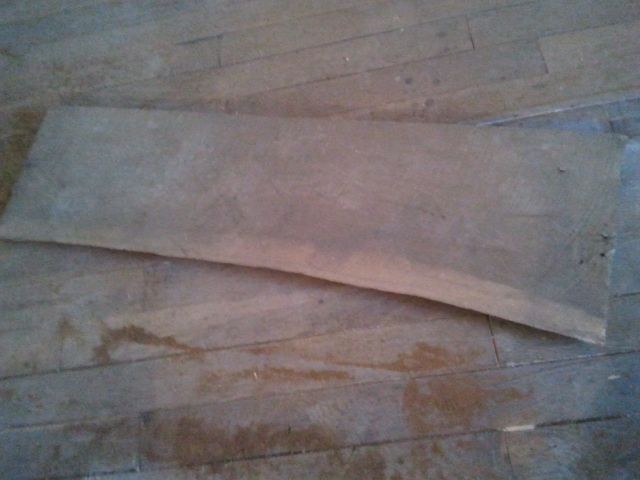
Salvaged wood shelving
We had some old oak boards which were previously in the loft above the staircase and decided to use them to make some shelving for the new loft bathrooms.
The salvaged boards before sanding:

After belt sanding and treating with linseed oil:

Some of the shelves fitted:


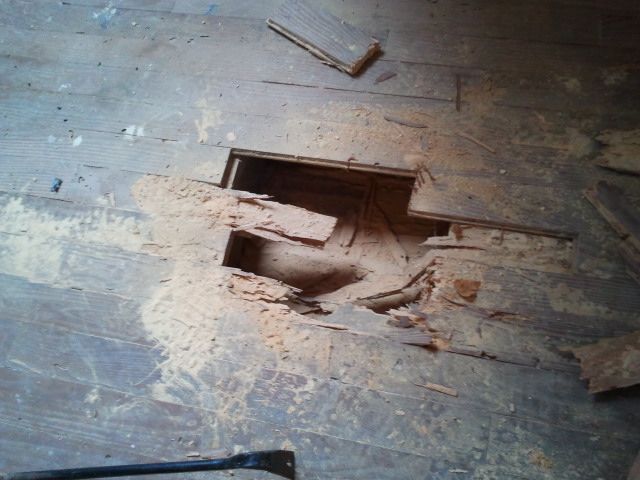
New flooring in the loft.
A section of the floor in the loft had been replaced at some point in pine, and has since been eaten away by woodworm to the point where it is unsafe.
We replaced the old floor with a tongue and groove chipboard underfloor and tongue and groove pine cladding on top.
First thing is to rip out the old floor:


A few hours later:

The planks along the wall ends needed to be cut out with a saw as they went under the plasterboard. Luckily I was able to borrow a powerful electric saw from the builder which went through the planks like a knife through butter.

Next is to remove the old nails from the joists:

Then screw the tongue and groove chipboard panels into the joists:


Next is to lay the tongue and groove pine boards and nail them in by the tongue through to the chipboard:
 We were able to leave an expansion gaps at the wall ends as this will be covered by the skirting boards.

The finished floor:
 Next is to spray the flooring with 2 coats of anti woodworm treatment to prevent a repeat of the problems.
 An hour or so after the application the floor swelled up due to the absorption and all the planks were buckled and heavily distorted. Oops! Luckily a few days later it settled back down but it would have been very annoying after all the hard work.
We now have a bit more wood to add to the winter stockpile as well...
An hour or so after the application the floor swelled up due to the absorption and all the planks were buckled and heavily distorted. Oops! Luckily a few days later it settled back down but it would have been very annoying after all the hard work.
We now have a bit more wood to add to the winter stockpile as well...

Building Oak stair banisters for the loft
We decided to build a banister railing set for the loft stairs ourselves, as it was too expensive to buy a kit or get a bespoke one built.
Oak is cheap out here, we managed to get all the oak for the posts and railings from a local timber yard for about 25 euros.
Sanding the oak before fitting with a belt sander:

First we had to counter sink the posts so we can fit the bolts and washers which will be anchored into the joists.


The four main posts fitted:

I had to carve notches in the posts to bolt the side rails into:
 The finished banister set. Not bad for about 35 euros of timber and bolts.

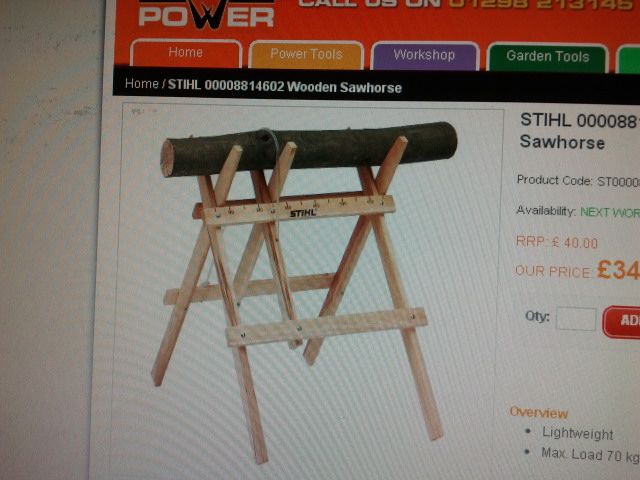
Building a Saw Horse.
I needed to build a basic saw horse so I could cut firewood with a chainsaw easily.
You just need a few lengths of wood and some nails.
Basic design idea from an image:

Making one of the cross pieces:

Cut the ends flat so it stands on the floor:

Lining up the crosses to attach them together:

The finished saw horse ready to use:

Need some more wood to get through the winter:

Repairing the side roof
The roof on the side extension of the main house was looking in bad repair with many tiles holed and cracked so we decided to repair it.
Removing some of the damaged tiles: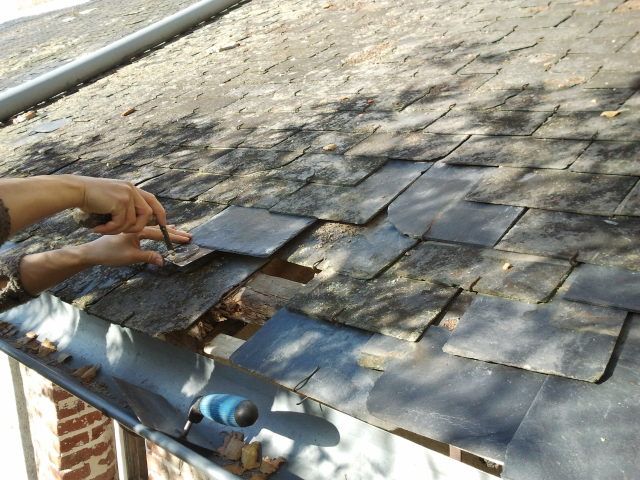
Removing some of the damaged tiles:

You can see the roofing batons are also rotten underneath and need repairing:

New roofing hooks and tiles which had to be cut to size with a grinder:

Working higher up on a roof ladder:

 Whilst we were up there we repaired some cracks in the wall render and repaired some flashing that had come away from the roof.

Slates are sharp by the way.....
 The finished roof:

Subscribe to:
Posts (Atom)